
Activity 4
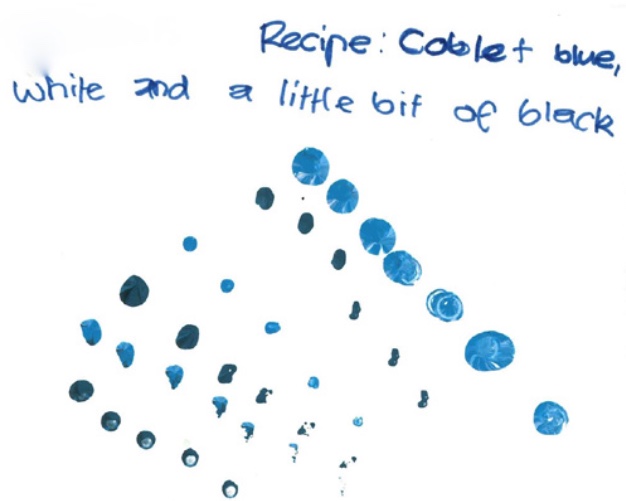
Colour Recipe
This activity creates a quantity of students’ family colour paint, which will be used to paint a foam ball and to mix a range of tints and shades of their family colour. It also provides an opportunity for students to practice colour mixing and applying their colour knowledge.
Curriculum
Western Australian Curriculum Content Descriptions
Development of artistic processes and techniques to explore visual conventions through colour to create artwork.
Use of techniques and processes and exploration of art forms.
Australian Curriculum Version 8 Content Descriptions
Use materials, techniques and processes to explore visual conventions when making artworks (ACAVAM111).
Materials
A range of acrylic paint colours used to create their family colour.
Plastic cups to contain the large amounts of the family colour.
Plastic teaspoons to mix paint.
Airtight containers to store cups of family colour.
Masking tape, textas, etc., to write name tags.
Activity
Review previous lessons. Focus discussion on the personalisation of choosing colours, how students used their colour knowledge to create these colours and then how they extended these colours by creating a range of tones/values by mixing black and white with their family colour to create tints and shades.
Discuss the use of the term “monochromatic”. Monochromatic colours are all the colours (tints, tones, and shades) of a single hue. Monochromatic colours go well together, producing a calm, soothing feeling.
The first task of this activity is to create a large quantity of their family colour with which they can create tints and shades using black and white.
First, ensure students put their name on their cup. For this example, students wrote their name onto masking tape and stuck the tape onto the plastic cup.
Then, seat students using similar colours together. For example, blue group, red group, green group, etc.
Remind students about how they mixed their family colours in previous lessons. For example, one student used mainly cool blue with some green, yellow and white.
Explain that the main colour should be poured first into the cup; for example, the blue, then add the green, etc. Discuss why. Similarly, explain that it is easier to add small amounts and mix the paint colour. Discuss why this is. A good analogy students relate to is when you buy a bucket of hot chips, and shake salt onto them. If you gradually sprinkle on the salt, it works out better, as you can keep adding more salt until the chips taste right, but if you are too enthusiastic and pour the salt on too generously it’s impossible to remove the salt from the chips and you are stuck with too salty chips!
Using plastic cups and plastic teaspoons students mix up a batch of their family colour.
Time
For this documented project, Year 4 students required one 50-minute lesson.
© This lesson plan has been created by Ana Nail and Japingka Gallery. Educational study use encouraged.
Overview | Lesson 1 | Lesson 2 | Lesson 3 | Lesson 4 | Lesson 5 | Lesson 6 | Lesson 7 | Lesson 8 | Lesson 9 | Lesson 10 | Lesson 11 | Lesson 12 | Lesson 13